One Click SSL plugin

Description
The One Click SSL plugin is literally what the name of the plugin says. It allows anyone with SSL enabled hosting to turn on SSL on WordPress. It will ensure that all non-SSL pages will redirect to SSL and it will also convert all insecure (http://) resources on the SSL pages to load securely (https://).
System Requirements
- WordPress 4.0 or higher
- SSL certificate on hosting/server
In order for this plugin to work, you need to have SSL support on your hosting. That means that you have an SSL certificate installed and configured. You can ask your hosting provider to install SSL for you, you can purchase an SSL certificate elsewhere, or you can use our WordPress hosting which includes free SSL at no extra charge.
Installation
- Download the ZIP package of the plugin.
- Either upload it to your WordPress > Plugins > Add New section for a quick installation and skip to step 4 or extract the package in order to obtain the
one-click-sslfolder of the plugin. - Upload the
one-click-sslfolder to thewp-content/plugins/directory. - Log in to your WordPress admin and go to the Plugins page in your dashboard.
- Activate the One Click SSL plugin by clicking the Activate link.
- Upon activation, you’ll be taken to a setup wizard to test SSL support and enable SSL.
Quick Start
Follow these instructions to quickly get started with the plugin:
Activation
After you’ve installed the One Click SSL plugin, you can activate it.
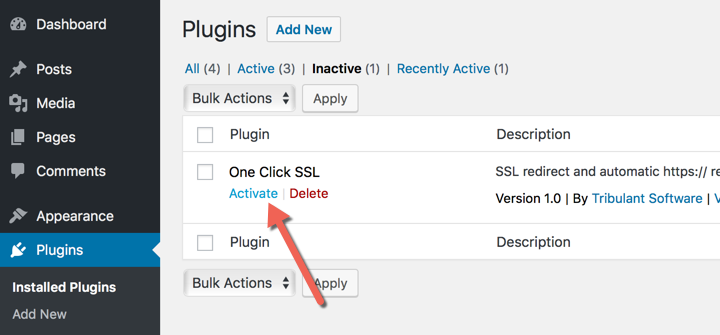
- Go to the Plugins section in your WordPress dashboard
- For the One Click SSL plugin, click the Activate link
Setup Wizard
You will be taken to the One Click SSL setup wizard after you activated the plugin.
Step 1: Check SSL Support
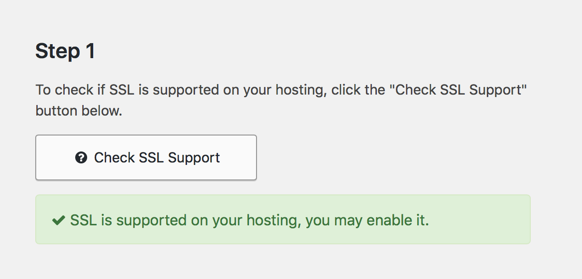
A useful utility to test/check SSL support is included which will make sure that your website is accessible when accessed over https:// . The purpose of this SSL testing utility is to ensure SSL is supported before enabling it and preventing a website from becoming inaccessible.
Simply click the Check SSL Support button and wait a moment for the verdict. If SSL is supported, a green success message will display and the Enable SSL button of Step 2 will be enabled, allowing you to continue.
Step 2: Enable SSL
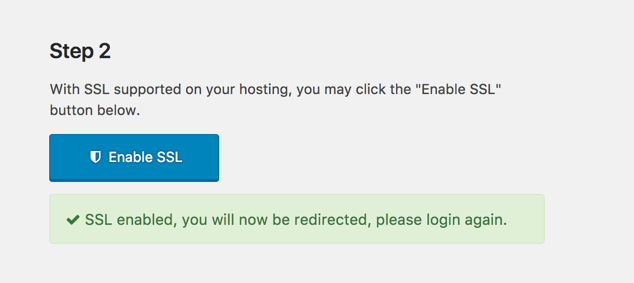
With Step 1 successful, the Enable SSL button will become available so that you can simply click it to enable SSL.
Once you click the button, SSL will be turned on and you may need to log in again to the dashboard since the protocol changes from http:// to https://
SSL Already Enabled
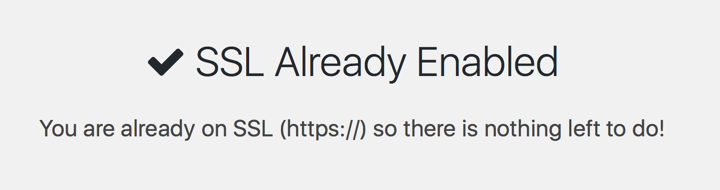
If you are already on SSL and it is working fine, the setup wizard will simply tell you that and no action is required.
SSL info/status box

SSL info/status box shows the domain, the certificate status (Valid or Invalid) and the expiry date of the certificate.
Troubleshooting
If not all resources are converted to SSL for a specific reason, you can download a search and replace URL plugin. In that plugin, there should be 2 fields where you can enter your old HTTP URL, such as http://www.example.com/ and your new HTTPS URL, such as https://www.example.com/. After entering your URLs, submit your query and the plugin should do the rest. You can then disable and remove that plugin.
Releases
Beautiful Newsletter Templates
Professional newsletter templates that are fully responsive for desktop, tablet, and mobile. They are 100% cross-client compatible.