Newsletters: Embedded Images extension
WordPress Newsletter plugin: Embedded Images Extension
Requirements
Installation
1. Make sure that you have the WordPress Newsletter plugin installed.
2. Download the Embedded Images Extension from the downloads management section in a ZIP archive (you may need to login to your Tribulant Software account in order to access your download).
3. Extract the ZIP archive named newsletters-embedimages.zip in order to be presented with a single folder named newsletters-embedimages.
4. Upload the newsletters-embedimages folder to the wp-content/plugins/ directory of your WordPress installation as seen in the example image below.

Activation
Once you have installed the Embedded Images Extension via FTP you need to activate it.
To activate it you need to go to the normal Plugins > Installed Plugins section via your admin sidebar. There you will see the extension as a plugin listed amongst other plugins, look at the screenshot below.
![]()
Once activated, you will notice that it is listed in the Newsletters > Extensions section via the admin sidebar. As seen in this image below.

Configuration
Attach/embed images into emails instead of loading them remotely to prevent image disabling. It also makes newsletters load immediately in our WordPress Newsletter plugin.

1. Embedded Images
You can set this setting to “Yes” to attach /embed images to into images instead of loading them remotely form their absolute URL.
2. Images Location
Here you will enter the location (absolute path) of the the images you would like to attach/embed. This is the location where all images in emails will be automatically copied/transferred by the plugin for your convenience.
Attached/Embedded Images Results
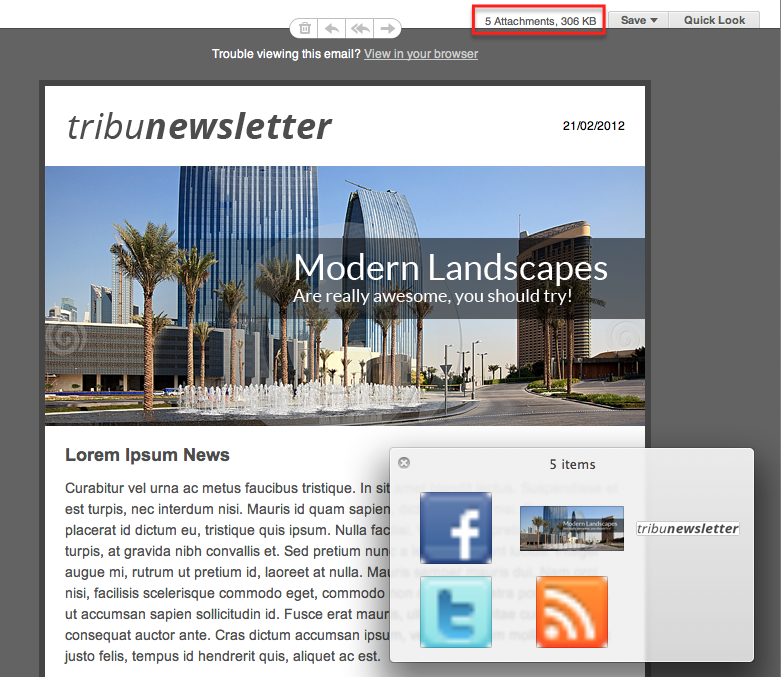
If you turned on the attached/embedded images by setting “Embedded Images” to “Yes” under Newsletters > Configuration > Sending Settings, this extension will function.
All outgoing emails are scanned by the extension for IMG tags. The source (either on the same server or a remote server) of each image is taken and automatically copied to a location on the same/local server to the path as specified in the “Images Location” setting under Newsletters > Configuration > Sending Settings.
As the email is sent, these images are then privately attached and embedded with CID into the content of the email, loading them directly into the content instead of loading them via HTTP from a remote location into the email or webmail client as the user reads/opens the email.
Release Notes
Website & Email Hosting
Get the best website & email hosting for speed, security, and peace of mind. No restrictions. Freedom to do what you need in order to run your business.