Checkout Config: Theme, Scripts & Custom CSS
Checkout > Configuration > Theme, Scripts & Custom CSS

You can make theme folders by copying the wp-checkout/views/default/ folder and renaming it to something like wp-checkout/views/my-theme/ or similar and making changes to the template files.
If you renamed it to my-theme, the my-theme folder name will automatically show up there in the Theme Folder dropdown setting (see [1] in the screenshot) to be selected and saved. The plugin reads the wp-checkout/views/ folder to see what custom folders are in there.
Each theme must have a style.css file inside the theme folder with the CSS for the shop. Like wp-checkout/views/my-theme/style.css
If you want to keep your modifications outside the plugin to prevent the changes from being overwritten when you upgrade, you can use a child theme folder for the Shopping Cart plugin.
1. Select Theme Folder
This is a simple down-down which displays any custom folders in the wp-checkout/views/ folder. Select the folder you want to load the style sheet from.
2. Load Default Styles
Tick the checkboxes for the styles you need to load

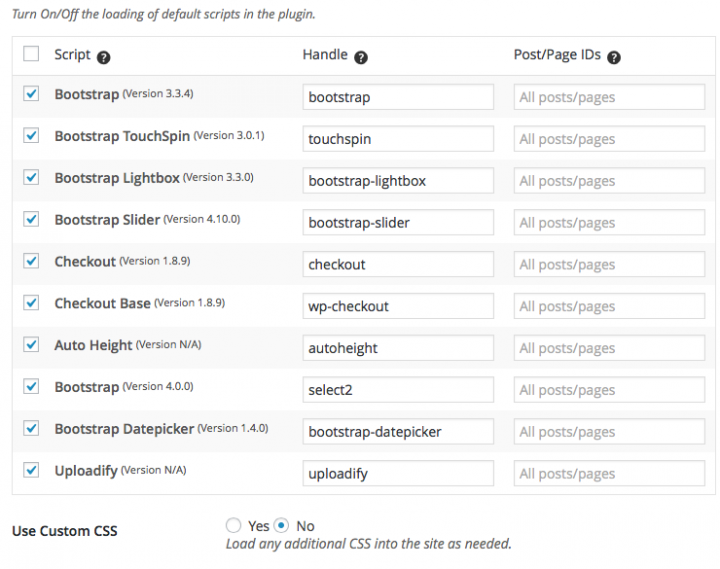
3. Use Custom CSS
The default here is “No”. When selecting “Yes” a text area will appear below as seen at number 4.
4. Custom CSS Text Area
Add your own CSS to this section that affects the styling of your shop. Note that styles which already exist will need to be overwritten by adding !important to the end of the styles.
This Custom CSS while useful can hamper the performance of your site. If you notice a decrease in speed when using the Custom CSS then it is recommended that you rather make the changes directly to the style.css file.
Website & Email Hosting
Get the best website & email hosting for speed, security, and peace of mind. No restrictions. Freedom to do what you need in order to run your business.

